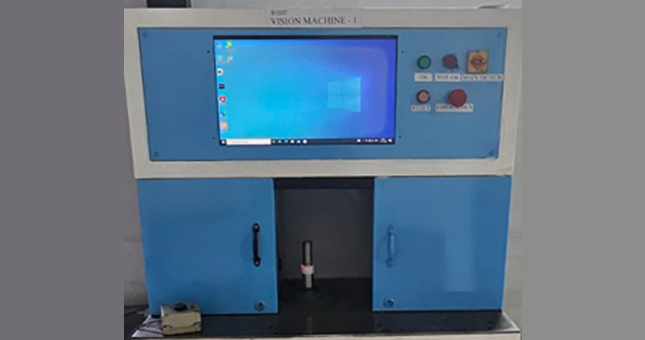
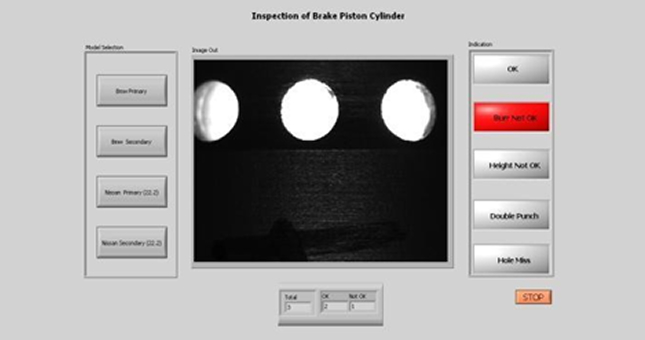
Our Precision Profiling and Intelligent Classification system demonstrates an advanced approach to automated quality inspection.
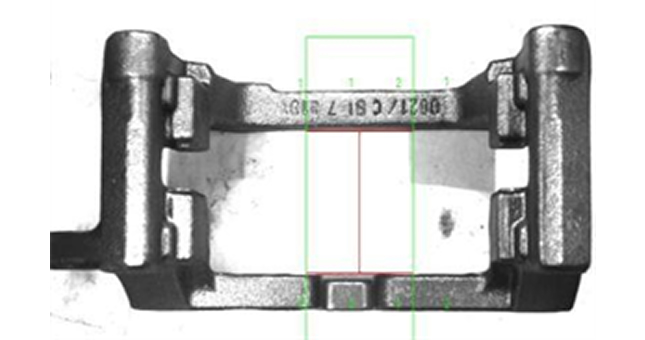
In this PoC, the component to be inspected is placed manually on an adjustable base. The base is designed to accommodate multiple product variants with ease. An advanced lighting system, positioned below the base, provides uniform illumination to highlight the profile of the component.
A high-resolution camera captures the profile image, which is processed using our intelligent inspection algorithms. The system analyzes the profile and classifies the component as "OK" or "Not OK" based on predefined quality parameters. For seamless operation, the user interacts through an intuitive touchscreen interface, where selector buttons allow quick switching between inspection software for different component variants. This ensures fast setup, minimal downtime, and highly accurate inspection results.
This PoC highlights how our solution combines optical precision, adaptive software, and AI-driven classification to deliver a scalable and user-friendly inspection system.

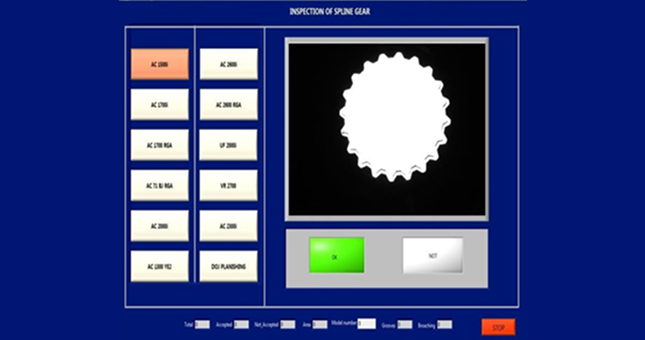
Our Final Assembly Inspection System ensures accurate quality checks at the end of the production line. Operators place the component to be inspected on the LHS of the conveyor, which carries it into a closed inspection chamber. The cameras capture detailed images under controlled lighting, processed by intelligent vision algorithms. A green lamp signals an “OK” box to move to the RHS for packaging, while a red lamp and buzzer indicate defects, returning the component for rework. This automated solution guarantees efficient inspection and defect-free final assembly.
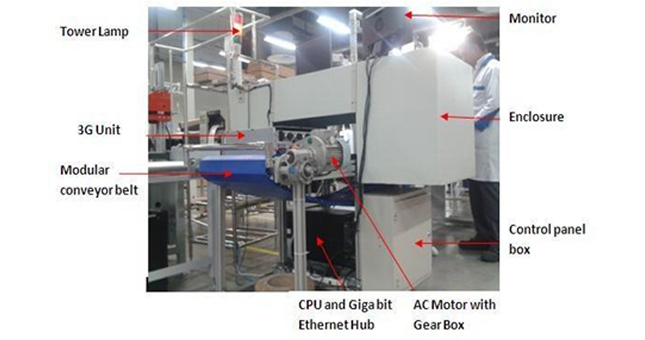
The Dimension Measurement System is an advanced machine vision solution designed to accurately verify the size and geometry of components during production. Using high-resolution cameras and precision lighting, the system captures detailed images of the part and analyse them with intelligent software to measure critical dimensions. These measurements are compared against predefined tolerances to ensure every component meets quality standards. A green signal indicates a conforming part, while a red alert notifies operators of any dimensional deviations. This automated process enhances inspection speed, minimizes human error, and guarantees consistent, high-quality output.

The Defect Detection System is designed to identify surface flaws and irregularities with high accuracy during the manufacturing process. Equipped with advanced lighting and high-resolution imaging, the system captures even the smallest imperfections on the component’s surface. Intelligent machine vision algorithms analyze the images in real time to detect defects such as scratches, dents, cracks, or contamination. When a part is free of defects, a green indicator confirms it as acceptable; if any defect is found, a red signal and alert notify operators for immediate corrective action. This solution ensures early detection, reduced rework, and superior product quality.
